
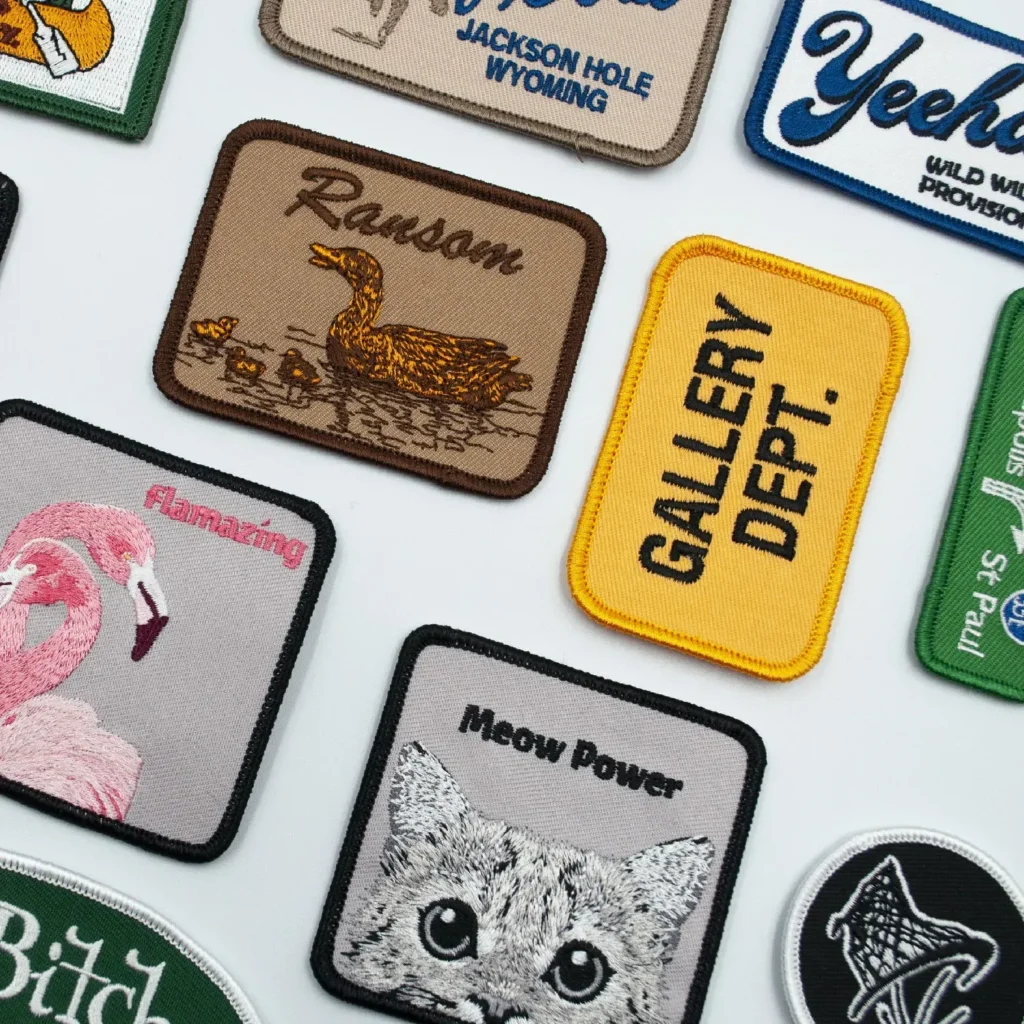
Embroidered Patches offer a quick, expressive way to personalize jackets, bags, and sneakers, turning everyday items into wearable stories. As part of the Beginner’s guide to patches, this introductory overview helps you start with confidence and clear design choices. You’ll explore applying patches with iron-on patches or sew-on patches, choosing based on fabric, care, and how permanent you want the look. Along the way, you’ll encounter patch embroidery techniques that add texture, depth, and a professional finish. From denim jackets to tote bags, these tips set you up for durable, stylish results and a fun patch-making journey.
Understanding Embroidered Patches: Materials, Backings, and Care
Embroidered Patches are small fabric cards carrying a stitched design, ready to be attached to clothing or accessories. They combine fabric, thread, and backing options to create a durable, expressive embellishment that can tell your story without saying a word. The most important choices start with the patch itself: the fabric it’s made from, the embroidery style, and the type of backing that will secure it in place.
Understanding Embroidered Patches means knowing your options for backings, fabrics, and care. Patches can feature denim, twill, felt, or canvas bases, with embroidery that adds depth and texture. This foundation matters because it affects how you apply the patch, how it washes, and how long it will stay looking sharp on everyday wear.
Iron-On Patches vs Sew-On Patches: Choosing the Right Backing for Your Project
When you start with iron-on patches, you’re choosing convenience. The heat-activated adhesive backing fuses to fabric with a household iron, giving you a quick embellishment that’s easy for beginners to try. This option shines on items that won’t endure heavy washing or frequent abrasion, making it a great entry point in the journey described in many beginner projects.
Sew-On patches offer durability and laundry longevity. By sewing the edge with careful stitches, you create a secure bond that stands up to frequent washing and rough wear. This method aligns with more traditional sewing skills and is often favored for workwear or kids’ apparel, where long-term durability matters more than speed.
Step-by-Step Guide to How to Apply Patches on Different Fabrics
Applying patches on different fabrics requires a practical approach. For sturdy materials like denim or canvas, you can rely on either iron-on or sew-on methods, depending on your preference and washing plans. The process becomes intuitive when you first learn the general steps of placement, protection, and adhesion.
This guide also covers delicate fabrics, where stabilizers and careful heat control protect your material while you learn how to apply patches. If you’re exploring the Beginner’s guide to patches, you’ll recognize familiar steps: prepping the surface, choosing a method, and testing adhesion before completing the finish with stitching or extra heat as needed.
Patch Embroidery Techniques: Elevating Edges, Details, and Texture
Patch embroidery techniques can elevate a simple badge into a miniature work of art. Techniques like satin stitching around the edge create a crisp border, while couching can carry decorative threads across the surface for visual texture. By exploring these methods, you move beyond placement to craft a patch that feels intentional and finished.
Advanced touches, such as adding subtle inside details or layering multiple stitches, add dimension without overwhelming the design. Mastery of patch embroidery techniques comes with practice and experimentation, but even basic edge stitching and careful color work can dramatically improve how a patch reads from a distance and up close.
Design Selection for Maximum Impact: Choosing Bold, High-Contrast Patches
Design selection matters as much as the stitching itself. For beginners, bold, high-contrast designs read clearly from a distance and are easier to apply accurately, mirroring guidance you’d find in a practical resource like the Beginner’s guide to patches. Clear silhouettes, strong color contrast, and simple motifs reduce the risk of misalignment during application.
A cohesive patch set enhances a garment’s story. Consider balance between patches in size, color, and placement, and think about how the design fits with the garment’s original style. By choosing patches with a shared theme or color family, you create a visual narrative that feels intentional and wearable every day.
Care, Maintenance, and Longevity: Keeping Embroidered Patches Vibrant and Secure
Keeping patches vibrant involves mindful care after application. Iron-on patches benefit from turning the garment inside out during washing or using a protective cloth to minimize heat exposure in future launderings. This care approach helps maintain the patch’s adhesive and the garment’s fabric, extending the life of your embellishment.
For sew-on patches, standard washing and gentle handling are often enough, but you can reinforce longevity by light pressing after sewing and avoiding aggressive agitation in early wash cycles. Periodic checks of the edges help you catch loosening stitches early, and re-stitching or edge securing can keep your embroidered patches looking fresh for years.
Frequently Asked Questions
What are Embroidered Patches and why is a Beginner’s guide to patches useful?
Embroidered patches are fabric pieces with raised embroidery that can be attached to clothing or accessories. A Beginner’s guide to patches explains patch types, backing options, and the basics of how to apply patches, helping you start confidently and achieve durable results.
How do iron-on patches compare to sew-on patches for Embroidered Patches?
Iron-on patches use a heat-activated adhesive for quick attachment, while sew-on patches require stitching for long-lasting durability. For Embroidered Patches, choose based on fabric, care plans, and whether you want a temporary or permanent finish.
What patch embroidery techniques should beginners explore when working with Embroidered Patches?
Begin with simple techniques like satin stitching around the edge, basic running stitches, and light couching to add texture. Use stabilizer on delicate fabrics and practice on scraps before finishing your patches.
What are the basic steps to apply patches using iron-on backing in Embroidered Patches?
Prepare the fabric, position the patch, protect it with a cloth or parchment, apply heat with a hot iron (no steam) for 30–60 seconds, check adhesion, and let it cool before testing. If edges lift, reapply heat or stitch around the border for extra security.
How should I care for Embroidered Patches after application to maximize life?
For iron-on patches, turn the garment inside out and avoid high heat in future laundry; wash on gentle cycles and air-dry when possible. Sew-on patches are typically more laundry-friendly, but still benefit from gentle washing and avoidance of high heat.
What common mistakes should beginners avoid when working with Embroidered Patches?
Avoid high heat on delicate fabrics, skip stabilizers on lightweight textiles, rush the cooling step, wash too aggressively right after application, and neglect proper alignment or finishing stitches.
| Topic | Key Points |
|---|---|
| What are Embroidered Patches? | Fabric pieces with embroidered designs that attach to clothing or accessories; embroidery adds depth and texture; durable with a personal touch. |
| Types and Backings | Iron-On (heat-activated adhesive), Sew-On (stitch edge), Velcro/backing for interchangeability; each affects durability and care. |
| Materials and Tools | Patch designs, iron-on supplies (iron, cloth), sew-on kit (needles and thread), scissors, pins, stabilizer, fabric scraps; optional sewing machine. |
| Choosing Designs and Backing | Choose bold, high-contrast designs that read well from a distance; iron-on for quickness, sew-on for frequent washing; backing choice affects wear and wash durability. |
| Application Methods (Iron-On) | Prepare fabric, position patch, protect with cloth, apply heat 30–60 seconds, check adhesion, cool and test; reheat or secure with stitching if needed. |
| Application Methods (Sew-On) | Pin in place, choose thread, stitch edge with tight satin/dense stitch, finish edges, avoid harsh washing at first cycles. |
| Care & Maintenance | Iron-on patches: avoid high heat; sew-on patches: wash on gentle, air dry when possible; protect patches during washing. |
| Creative Ideas & Projects | Create a wardrobe capsule or themed collection; apply patches to denim jackets, backpacks, jeans, tote bags to tell a story. |
| Common Mistakes to Avoid | Excessive heat, skipping stabilizers, not cooling before washing, overstretching fabric, and improper edge finishing. |
| Advanced Tips | Explore hand-stitched borders, mix textures (felt, denim, canvas), and even design patches with your own embroidery for depth. |
Summary
Embroidered Patches offer a versatile, expressive way to personalize wardrobes and accessories. Whether you’re starting with iron-on patches or sew-on patches, the basics cover design selection, backing options, and reliable application. This guide highlights how patches differ, how to choose designs that read well from a distance, and practical steps for applying patches to various fabrics. Iron-on patches provide quick embellishment, while sew-on patches deliver durability for items that go through frequent wash. Stabilizers help control fabric stretch; tools like scissors, pins, and a basic sewing kit help beginners build confidence. After care matters: turn garments inside out when ironing, wash gently for sew-ons, and air-dry when possible. Creative ideas abound—from denim jackets to backpacks and tote bags—allowing you to tell stories through a curated patch collection. By understanding common mistakes to avoid, such as excessive heat or skipping edge finishing, you can ensure patches stay vibrant and securely attached for the long term. With practice, you’ll master patch placement, edge finishes, and even simple embroidery techniques to elevate your patches beyond basic placement.