
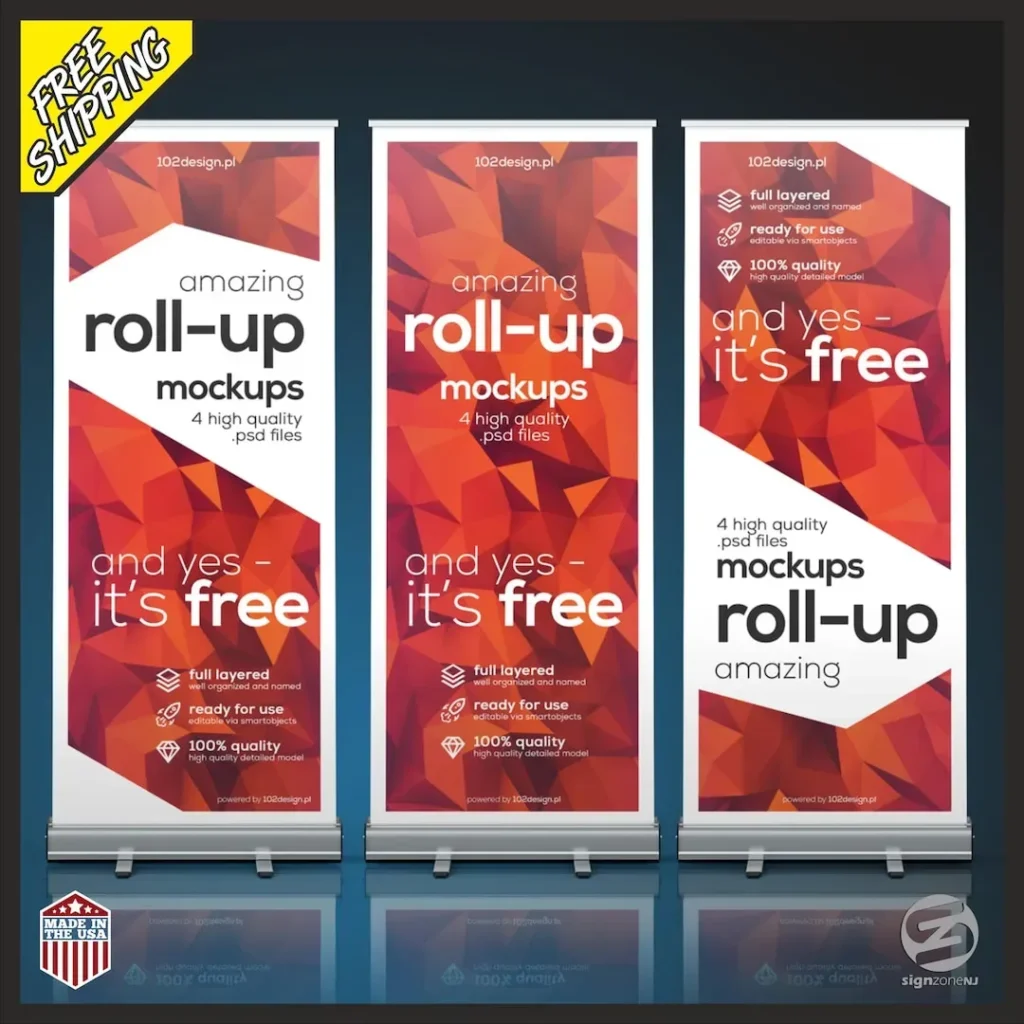
A well-designed custom roll-up banner can transform your exhibition space by delivering a bold, clear message that resonates with passersby. To stay on point, consult a roll-up banner design checklist that guides layout, typography, color contrast, and branding alignment. If you’re ordering a customizable banner, pay close attention to roll-up banner dimensions to ensure it fits your stand and sightlines. A practical plan also considers the banner printing and production timeline, approvals, proofs, and delivery to your event. For durability and portability, discuss retractable banner materials, carrying options, and weather resistance with your print partner.
Clarify Purpose and Audience for Your Custom Roll-Up Banner
Before you design or order, define the banner’s purpose and target audience. This clarity will shape copy density, font size, color usage, and overall composition of your custom roll-up banner. Refer to the roll-up banner design checklist as you set priorities for visibility, legibility, and brand voice, ensuring the banner serves a concrete business goal.
Think about the event context—trade show leads, showroom visits, or lobby branding—and translate those insights into an actionable plan. When you articulate the goal, you’ll have a ready framework for ordering a customizable banner that aligns with your marketing objectives and fits your stand space.
Decide on Roll-Up Banner Dimensions and Orientation
Roll-up banner dimensions determine how much content you can include and how large the main message appears from a distance. Widths commonly range from 800 mm to 1200 mm with portrait orientation, and heights typically around 2000 to 2380 mm. Knowing your roll-up banner dimensions helps you avoid crowded layouts and ensures compatibility with your stand hardware.
Always verify site or venue guidelines and consider adding white space to accommodate safety margins. Document the exact size in your ordering checklist so the printer delivers a banner that fits perfectly and reduces the need for last-minute changes.
Choose Materials: Retractable Banner Materials and Durability
Material selection impacts color vibrancy, weight, and durability. Vinyl banners deliver strong color reproduction and longevity, while fabric options can provide a premium, wrinkle-free appearance. For travel-heavy use, choose a retractable banner material that resists creasing and withstands frequent rolling and unrolling.
If your banner will see outdoor exposure or high humidity, discuss weather-resistant properties and anti-static considerations with your print partner. The material choice should reflect the environment where the banner will live, ensuring the custom roll-up banner remains vibrant from show to show.
Design Essentials for Your Custom Roll-Up Banner
Designing a strong roll-up banner means balancing imagery, copy, and negative space within your brand guidelines. Start with brand fonts, color palette, and imagery style, and use the roll-up banner design checklist to verify that each element supports the banner’s purpose. Focus on bold typography, high-contrast colors, and scalable graphics that reproduce well at large sizes.
Keep safe areas and bleed in mind, and ensure key messages remain visible when scaled to final dimensions. The focus keyword custom roll-up banner should appear in the headline and secondary callouts without overpowering visuals, reinforcing brand consistency across channels.
Artwork Prep and Color Management: Proofs and Color Accuracy
Artwork preparation matters as much as design. Send print-ready files in the correct format (PDF, AI, EPS, or high-res PNG), embed fonts, and use CMYK color mode. Target 300 dpi at final size for bitmap images, while vector logos remain resolution-independent. Including 3–5 mm of bleed and safe margins minimizes trimming issues during production.
Request soft proofs and, if possible, a physical proof to validate color accuracy and material behavior. Color management with ICC profiles helps keep your colors consistent across the printing and production timeline, reducing the chance of surprises during final output.
Production Timeline, Finishing, and Delivery for a Custom Roll-Up Banner
From artwork submission to delivery, outline a realistic production timeline with milestones for proofs, print, finishing, and shipping. Confirm lead times with your printer and set a clear approval workflow to avoid delays, especially when coordinating with an agency or internal teams. Budget discussions should reflect size, material, finishing, and potential rush fees, along with delivery guarantees.
Discuss finishing options like edge sealing, anti-scrape coatings, and protective hardware, and confirm compatibility with your retractable base. Plan for safe delivery and on-site setup, so your custom roll-up banner arrives ready to install ahead of your event, reinforcing a cohesive brand experience.
Frequently Asked Questions
How can I use a roll-up banner design checklist when ordering a custom roll-up banner?
A roll-up banner design checklist helps verify typography, color, imagery, safe margins, bleed, and brand alignment before printing a custom roll-up banner. Following the checklist streamlines decisions, reduces back‑and‑forth, and keeps the production timeline on track.
What should I consider when ordering a customizable banner to ensure the custom roll-up banner fits my venue?
Define the display space, choose appropriate roll-up banner dimensions and orientation, and confirm stand compatibility. The ordering a customizable banner process should specify layout with high legibility and brand consistency to ensure the custom roll-up banner works at your venue.
What are typical roll-up banner dimensions, and how should I pick the right roll-up banner dimensions for a custom roll-up banner?
Common widths range from about 800 to 1200 mm with heights around 2000–2380 mm. Choose roll-up banner dimensions based on viewing distance, space constraints, and stand compatibility to ensure the custom roll-up banner reads well from far away and up close.
How does the banner printing and production timeline affect a custom roll-up banner order?
The banner printing and production timeline affects proofs, color checks, material selection, and shipping. Plan milestones like artwork submission, proofs, print, finishing, and delivery to meet your event date for the custom roll-up banner.
What retractable banner materials are recommended for a durable custom roll-up banner?
Consider vinyl for durability and rich color or fabric for a premium look. For travel-heavy use, opt for lightweight yet sturdy retractable banner materials, and discuss weather resistance and ease of rolling with your print partner for the custom roll-up banner.
What are essential proofing steps within the banner printing and production timeline to ensure quality for a custom roll-up banner?
Request soft proofs, verify color accuracy (using ICC profiles when possible), review layout and typography, and obtain a physical proof if color-critical. These steps reduce reprints and keep the banner’s production timeline on track for the custom roll-up banner.
| Section | Key Point | Notes / Relevance (SEO) |
|---|---|---|
| 1) Define purpose and audience | Clarify the banner’s purpose (leads, traffic, or branding). Audience influences copy density, font size, color, and layout. | Focus on the main message to ensure visibility and alignment with brand voice; incorporate “custom roll-up banner” where relevant. |
| 2) Size and orientation (roll-up banner dimensions) | Standard widths 800–1200 mm; heights 2000–2380 mm; portrait orientation. | Document size requirements in the ordering checklist; leave extra white space to avoid crowding the message. |
| 3) Materials and durability (retractable banner materials) | Choose between vinyl (durable) and fabric (premium look); lighter materials for travel; consider weather resistance and anti-static properties. | Material choice affects appearance, weight, and durability; align with the environment and brand tone. |
| 4) Design considerations: layout, typography, and brand alignment | Balance imagery, copy, and negative space; follow brand guidelines for logo, color, and typography; ensure headline is legible from distance. | Tips: bold, legible headlines; high contrast; high-res imagery; plan for safe area and bleed; include the focus keyword in the headline or callout. |
| 5) Artwork specifications and file preparation (proofs and color management) | Provide print-ready files: PDF/AI/EPS with embedded fonts, CMYK color, 300 dpi at final size; include 3–5 mm bleed; safe margins. | Request soft proofs and physical proofs when possible; accurate color management reduces revisions and timeline delays. |
| 6) Proofing, color accuracy, and approval process (banner printing and production timeline) | Review soft proofs for layout/typography; approve physical proofs for color and material behavior; discuss ICC profiles and color matching. | Part of the production timeline; skipping proofs can lead to costly reprints. |
| 7) Printing options, finishing, and hardware compatibility (retractable banner features) | Assess print quality, ink durability (UV/water resistance), and finishing options (edge sealing, anti-scrape coatings, corner protectors). | Ensure compatibility with the retractable stand; account for top/bottom mounting; consider reinforced carriers for travel. |
| 8) Finalizing the order: timeline, budget, and delivery expectations (production timeline and delivery) | Define milestones: artwork submission, proof approval, print, finish, shipping; set lead times and a single point of contact. | Budget by size/material/finishes; confirm delivery windows and shipping terms before event dates. |
| 9) Quality checks on delivery and installation tips (final checks for a custom roll-up banner) | Inspect color fidelity, alignment, edges/seams; test roll-up mechanism; verify stand stability and proper lighting for readability. | A final sanity check prevents miscommunication and ensures readiness for display. |
| 10) Common mistakes and how to avoid them (practical tips) | Rushed artwork, incorrect size, skipped proofs, low-durability materials, or misalignment with brand guidelines. | Use a complete ordering checklist to minimize risks and ensure a professional, high-impact custom roll-up banner. |
Summary
Custom roll-up banner strategies start with a clear plan, and the term custom roll-up banner should be reflected across design, materials, and timelines. This table summarizes the essential steps from defining purpose and audience to final checks and common mistakes. Key considerations include roll-up banner dimensions, retractable banner materials, and a rigorous proofs process, all of which feed into a smooth banner printing and production timeline. By following these points, you’ll craft a durable, travel-ready banner that aligns with your brand and achieves your event goals, whether you’re preparing for a single deployment or a recurring set of banners.